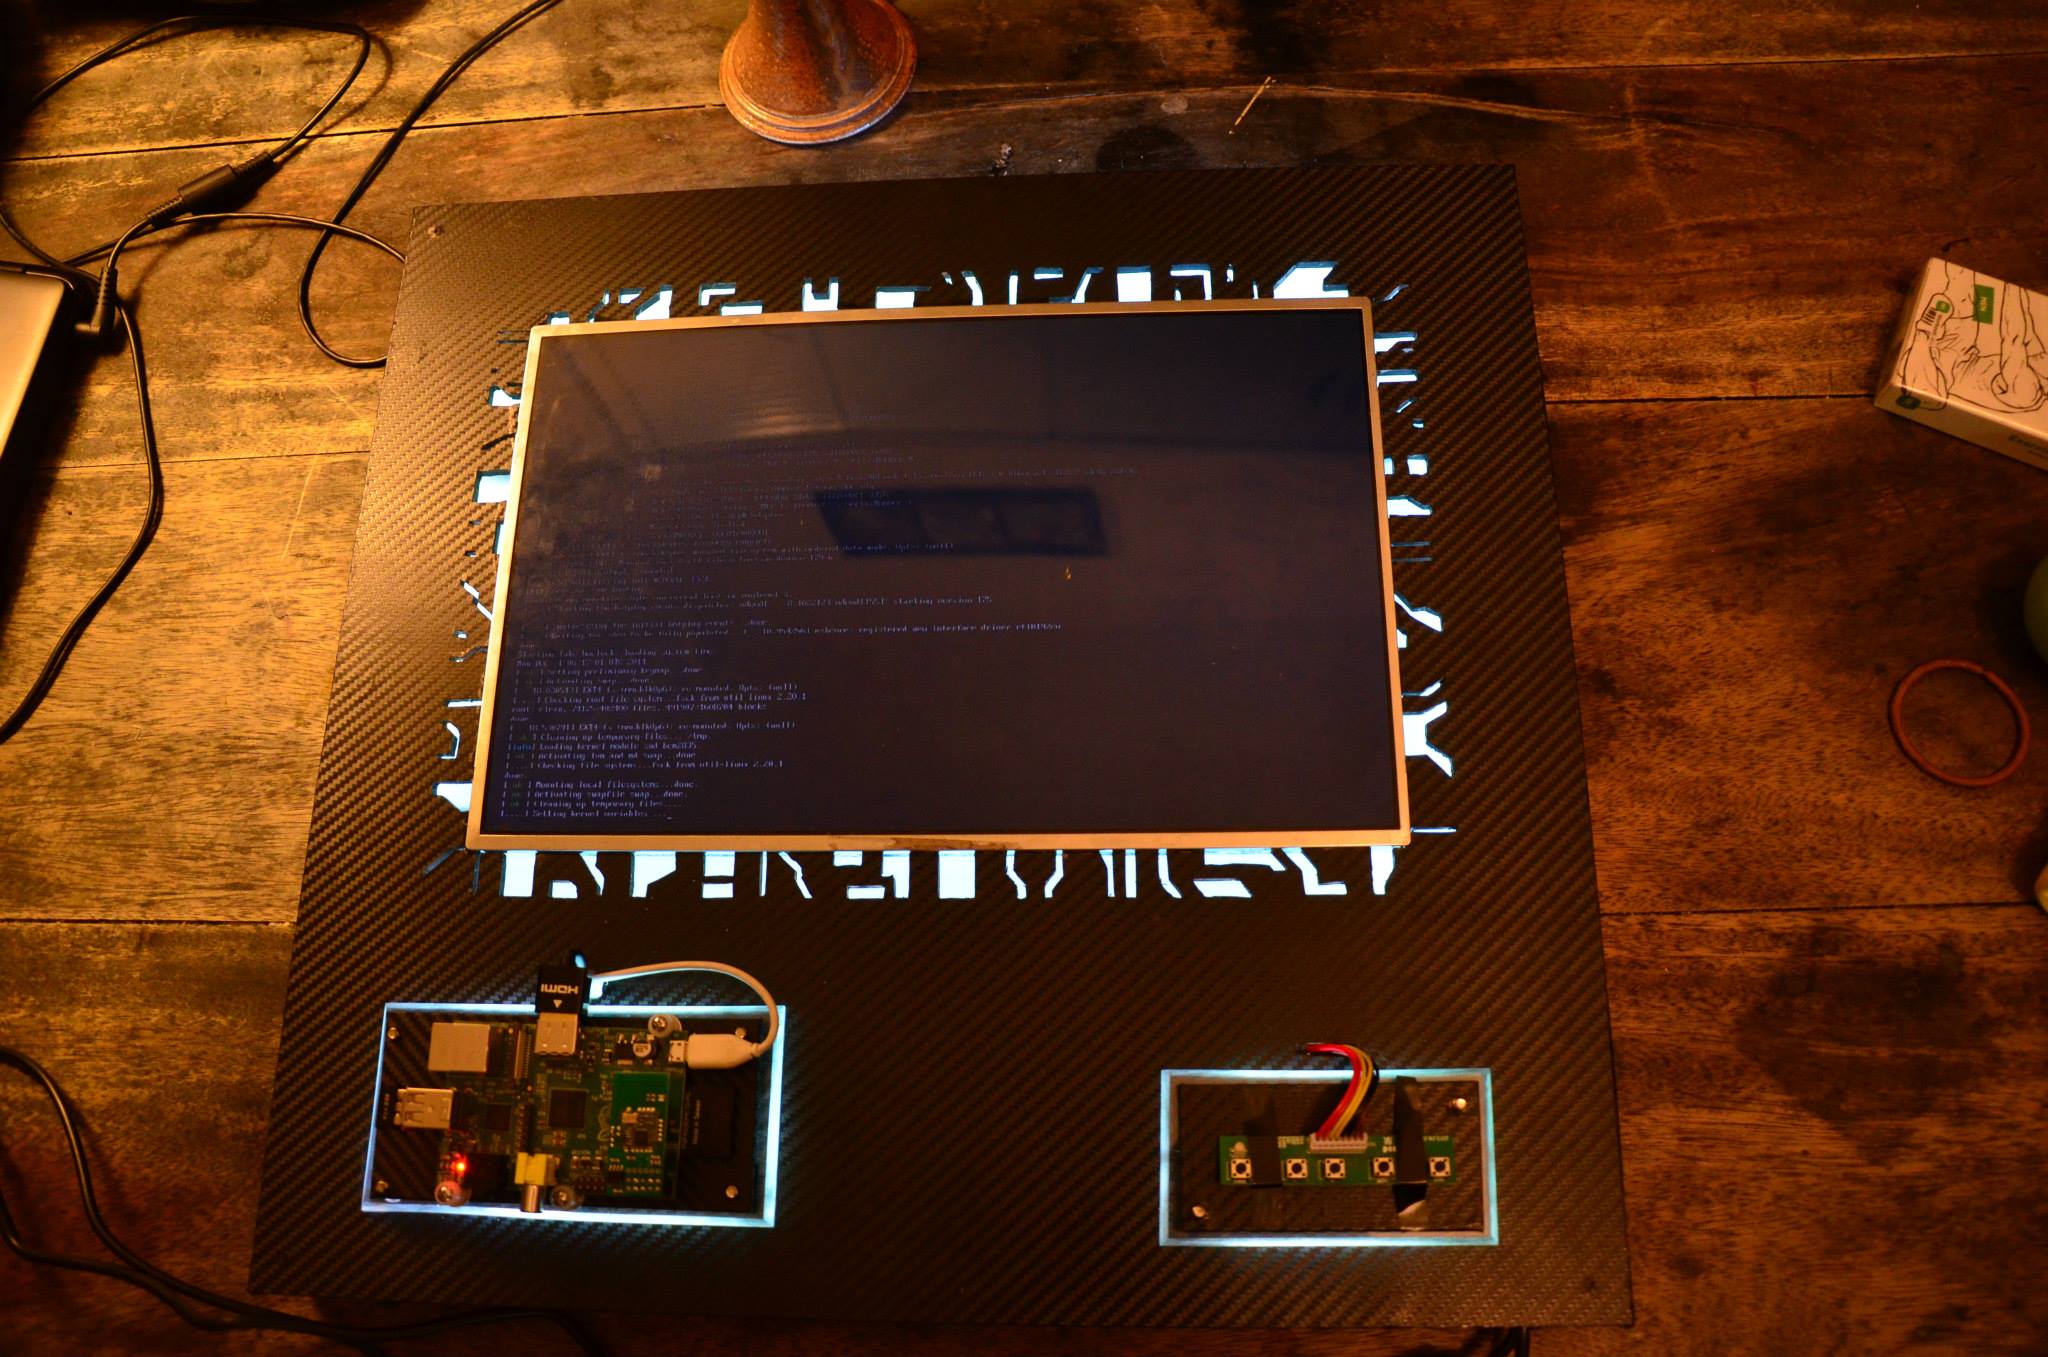

This build started with an obsolete laptop that I had lying around. I’m loathe to dispose of electronics - beyond the graveyard of laptops and old desktops, I also have bad RAM, decaying power supplies, and other assorted bits and bobs floating around the house. I stumbled across someone who had built a touch screen out of a laptop screen, and after doing a bit of research, I discovered that using a laptop screen standalone is actually really simple and pretty cheap. I decided that I would build a media panel for the wall, that could display pictures, todo lists, or anything else we wanted to see.
Parts
Aside from the screen, The parts list is pretty spartan:
- Plywood for the front
- Hardwood for the frame
- A computer to run the media panel
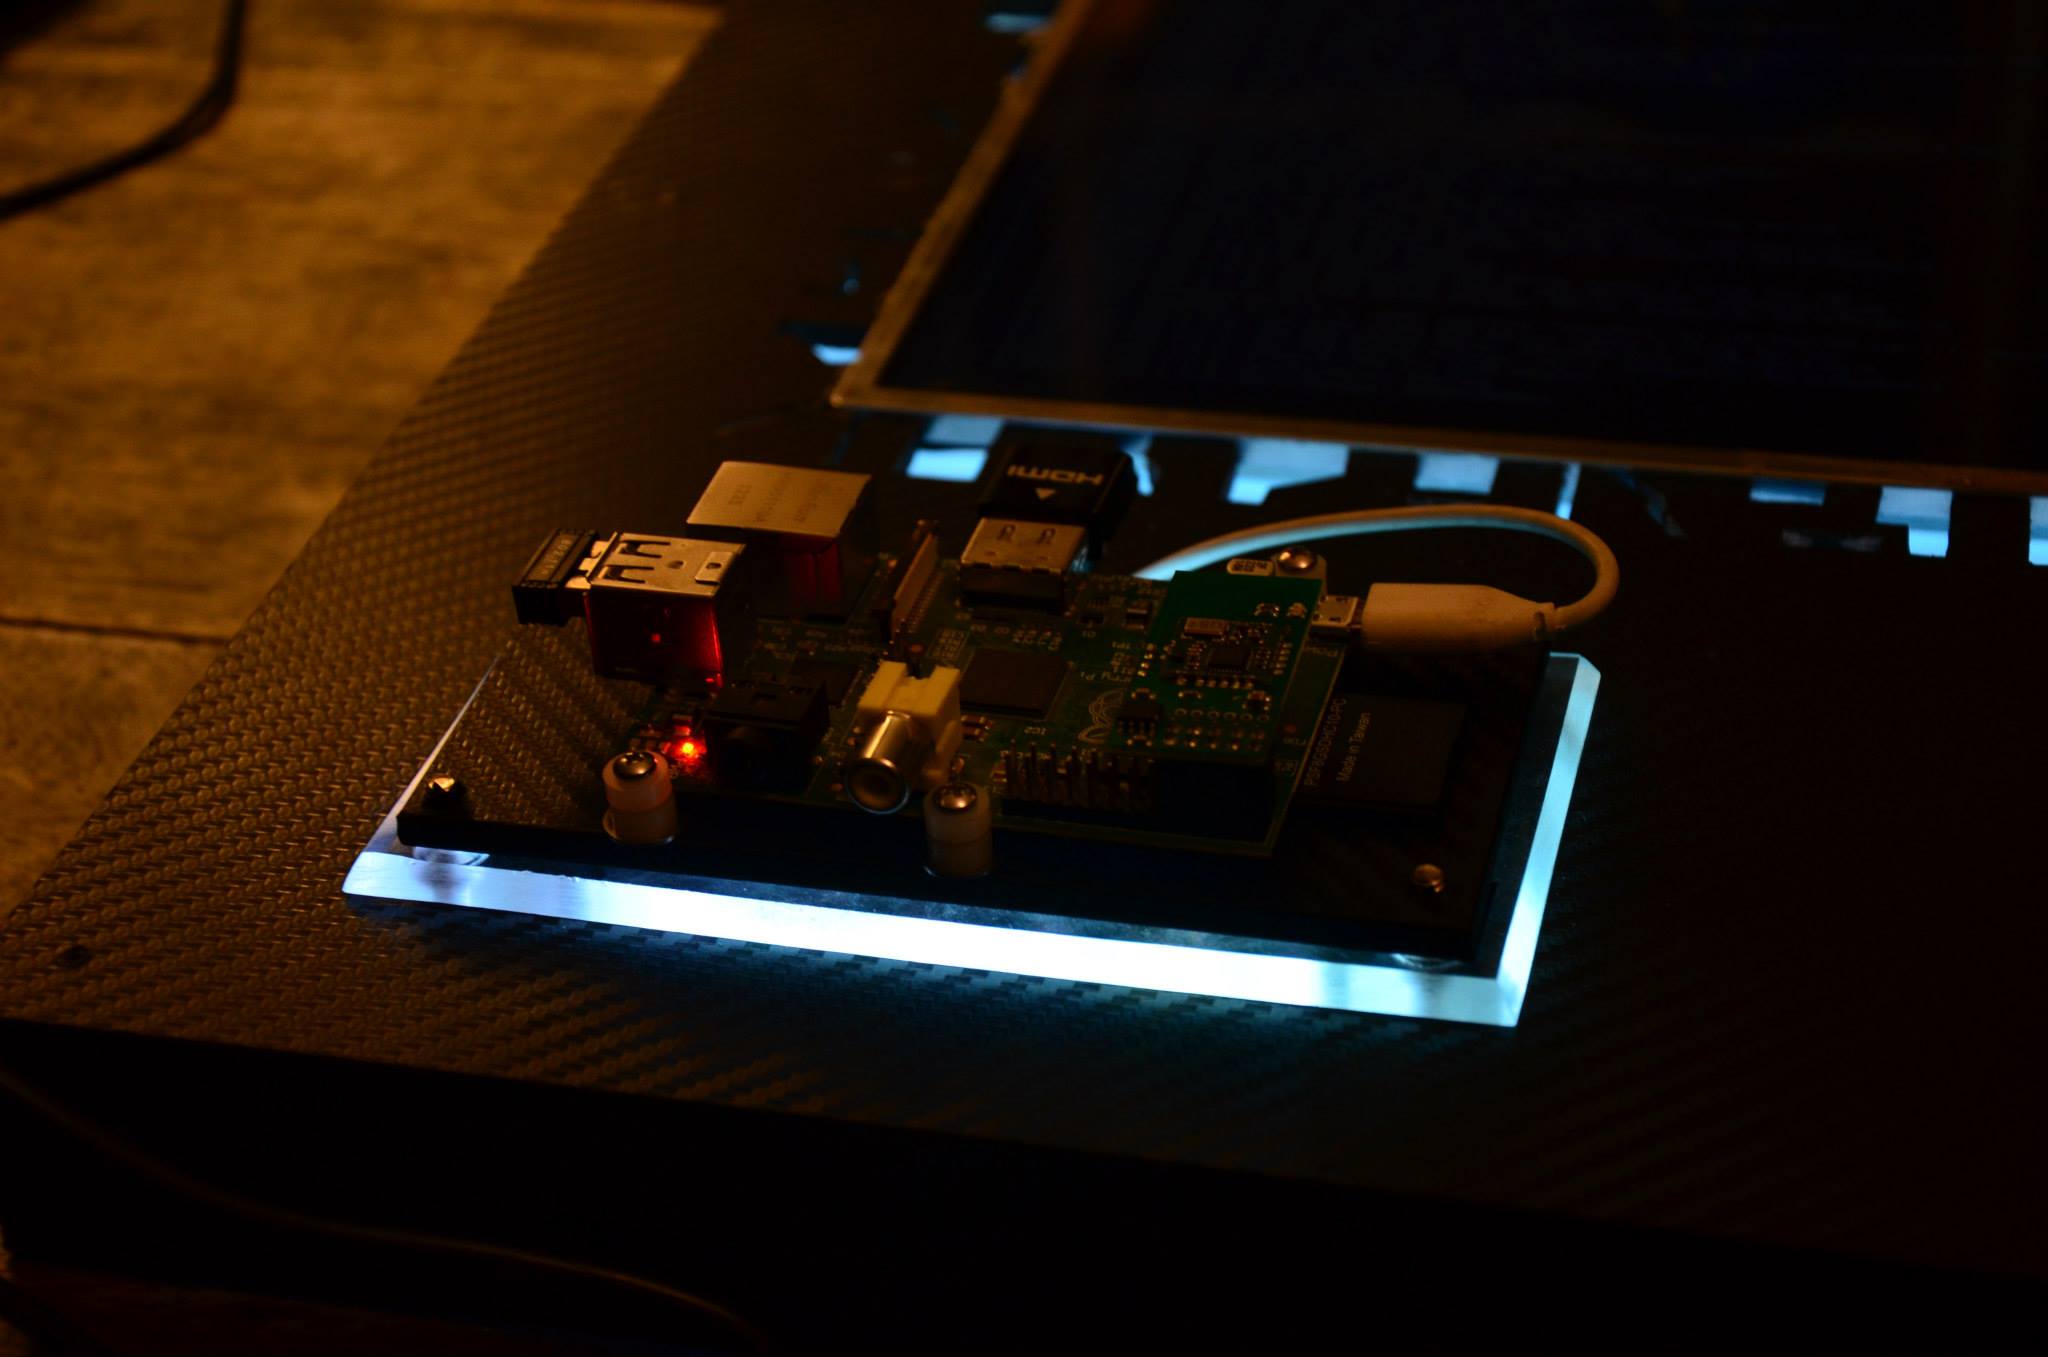
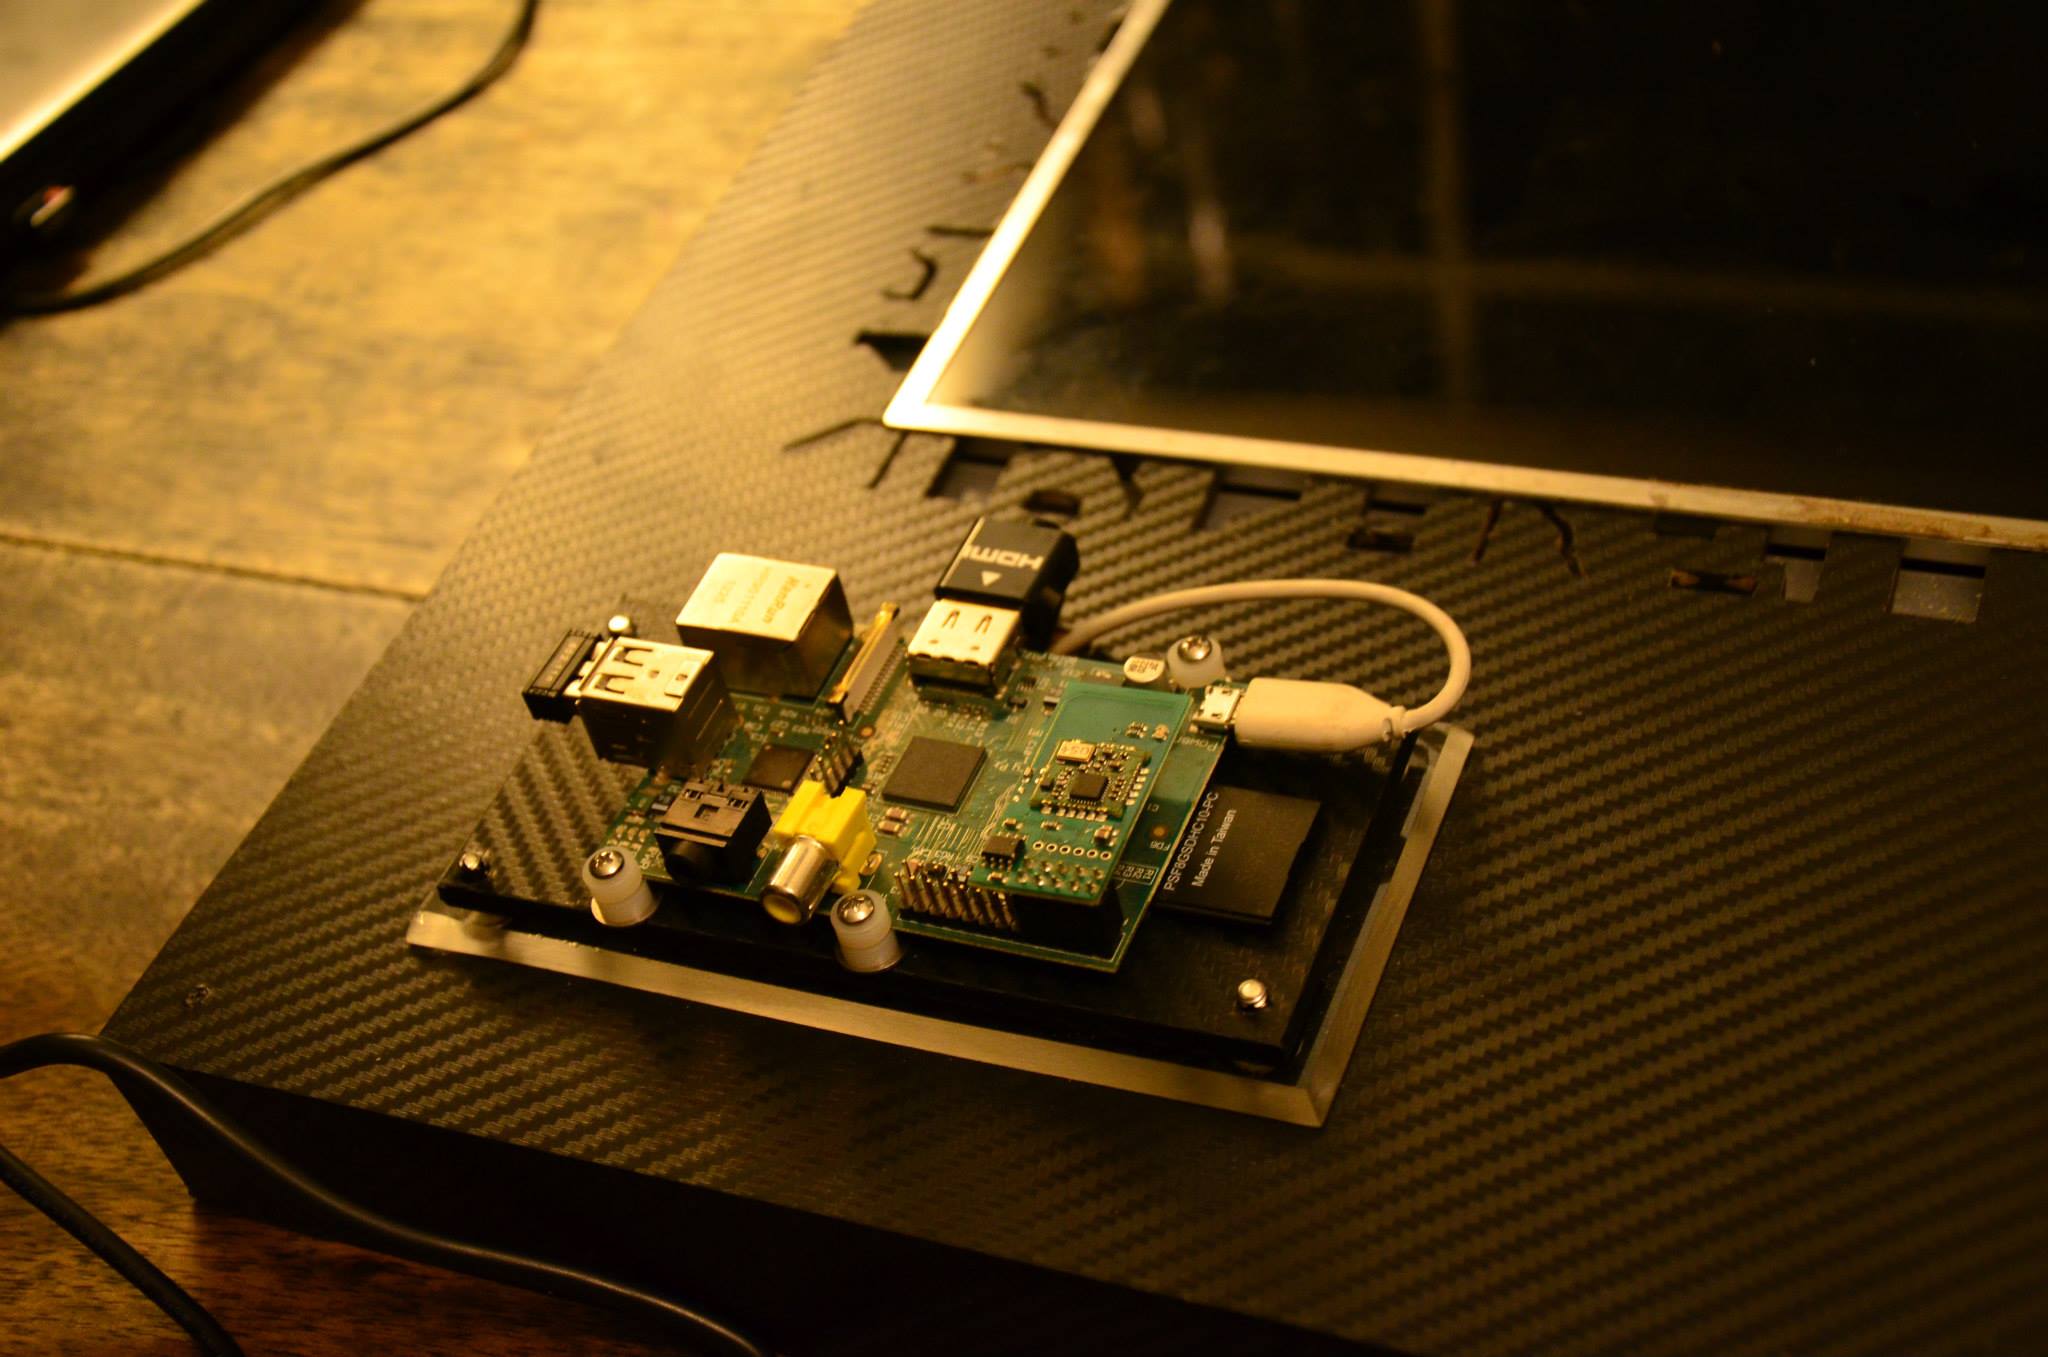
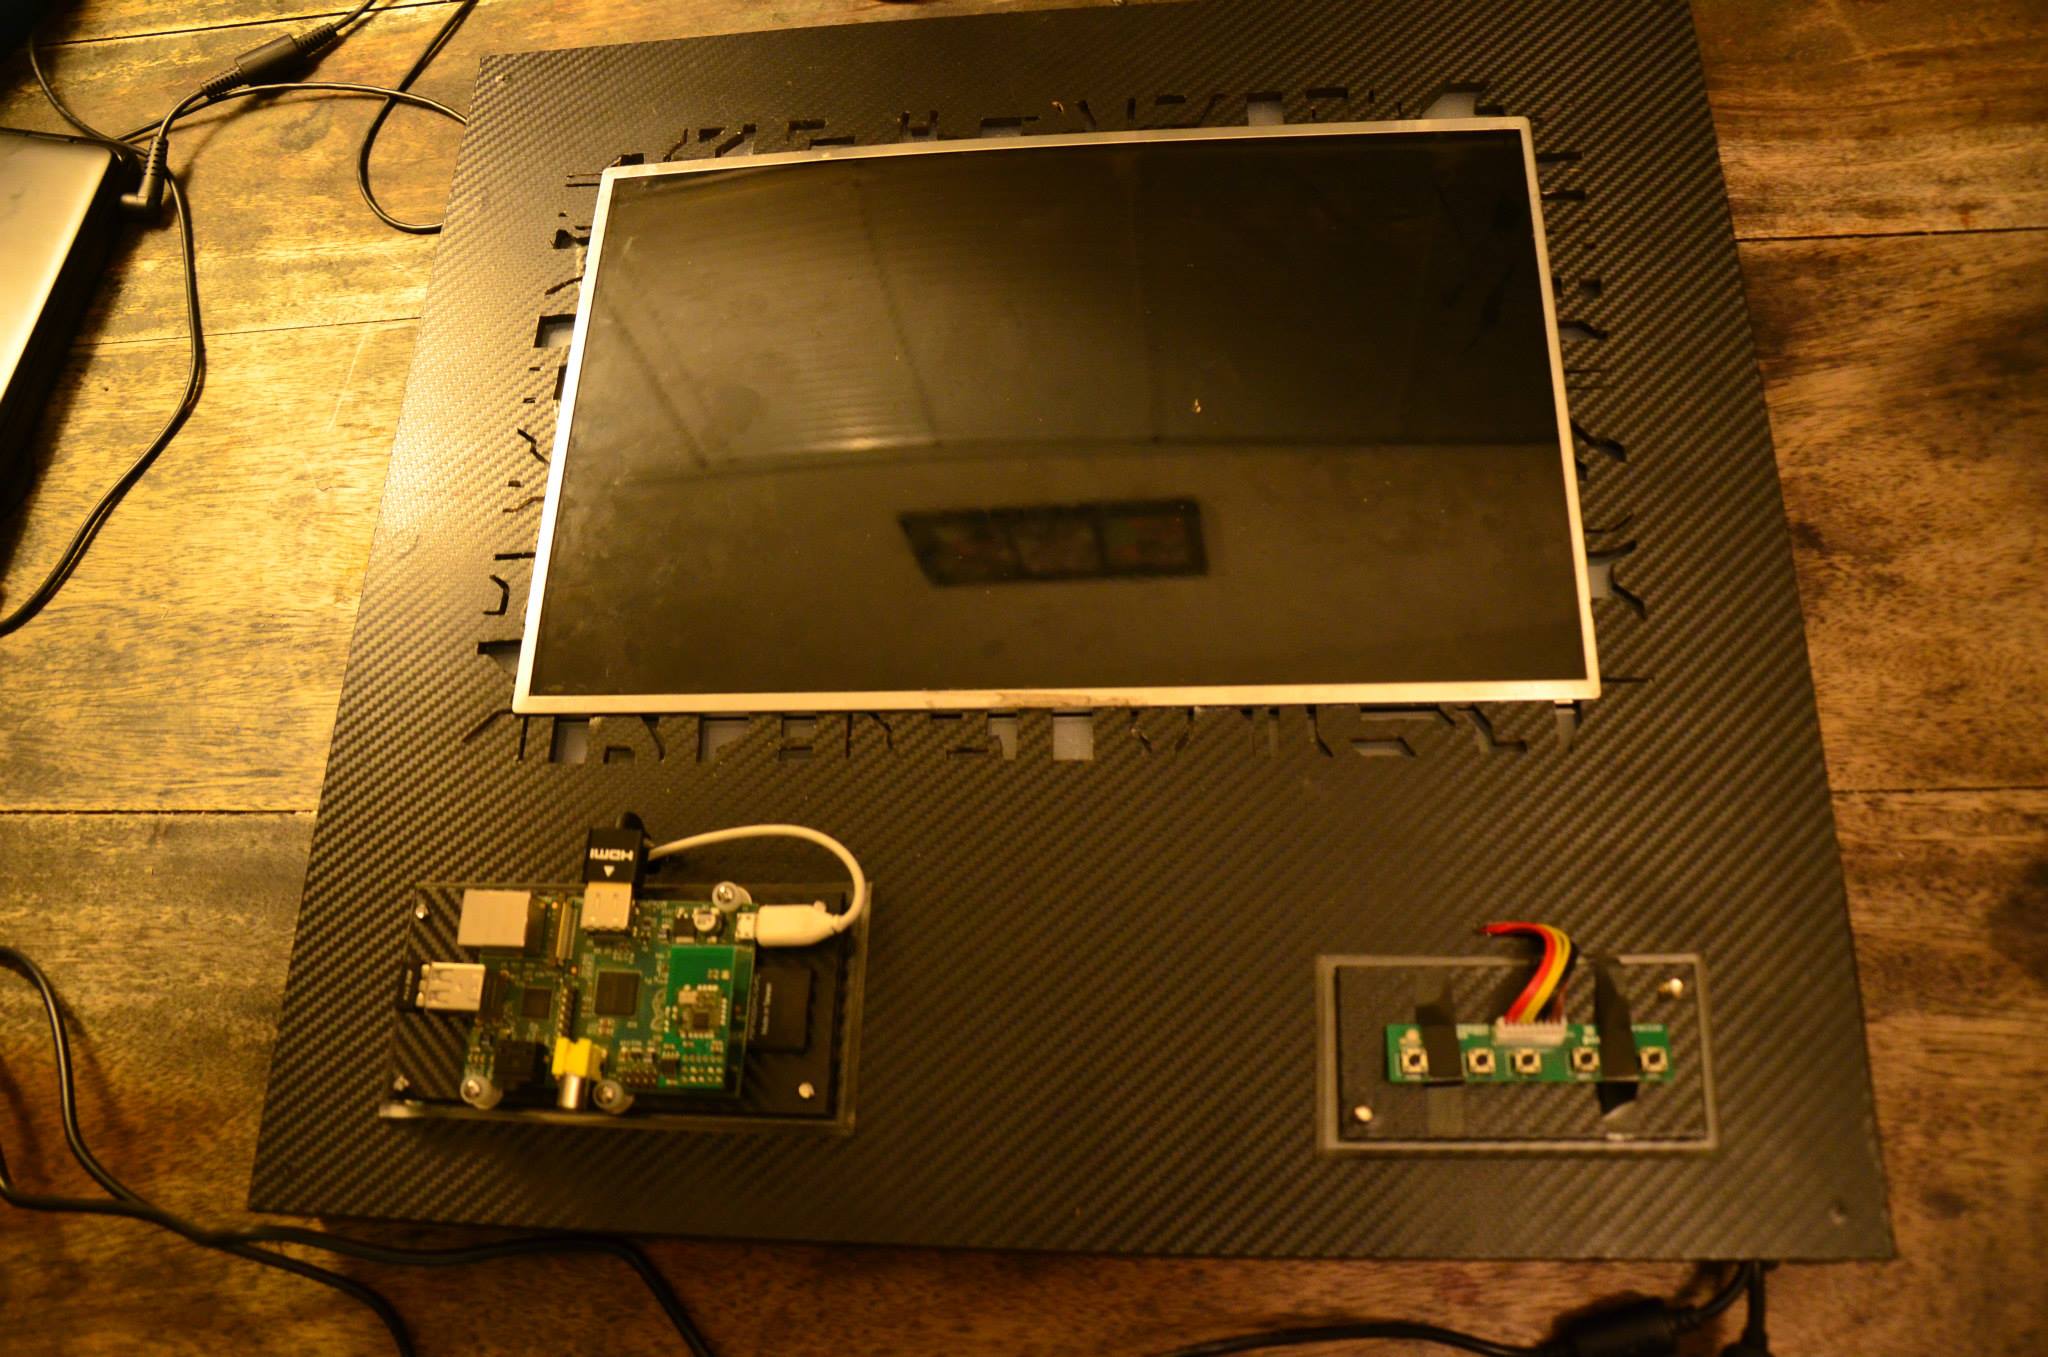
- A regulator and board to run the screen
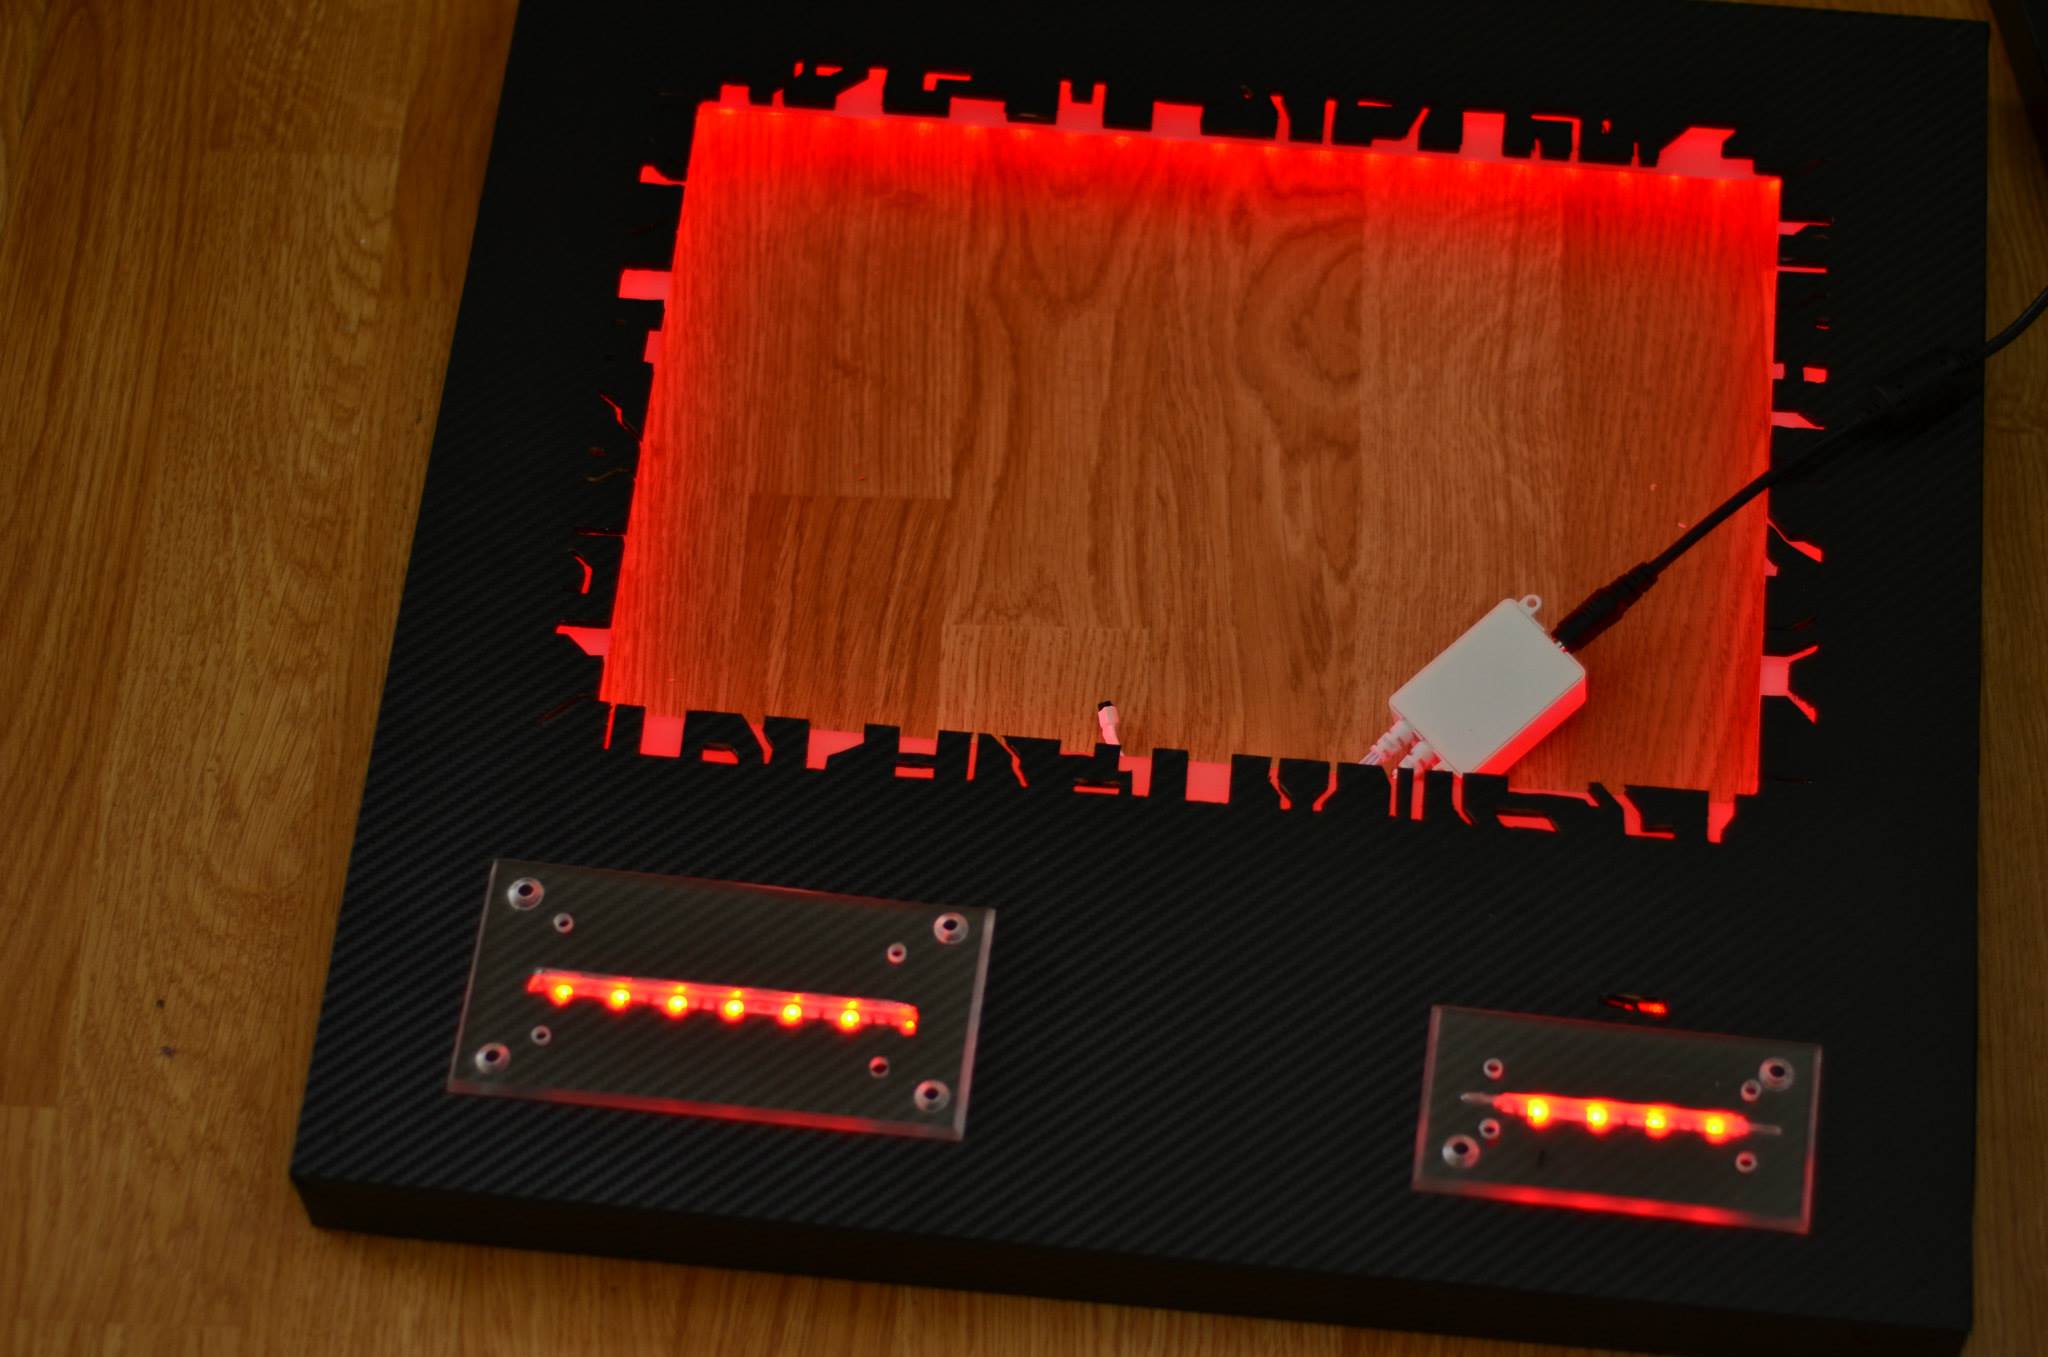
- LED strip lighting to make it look cool
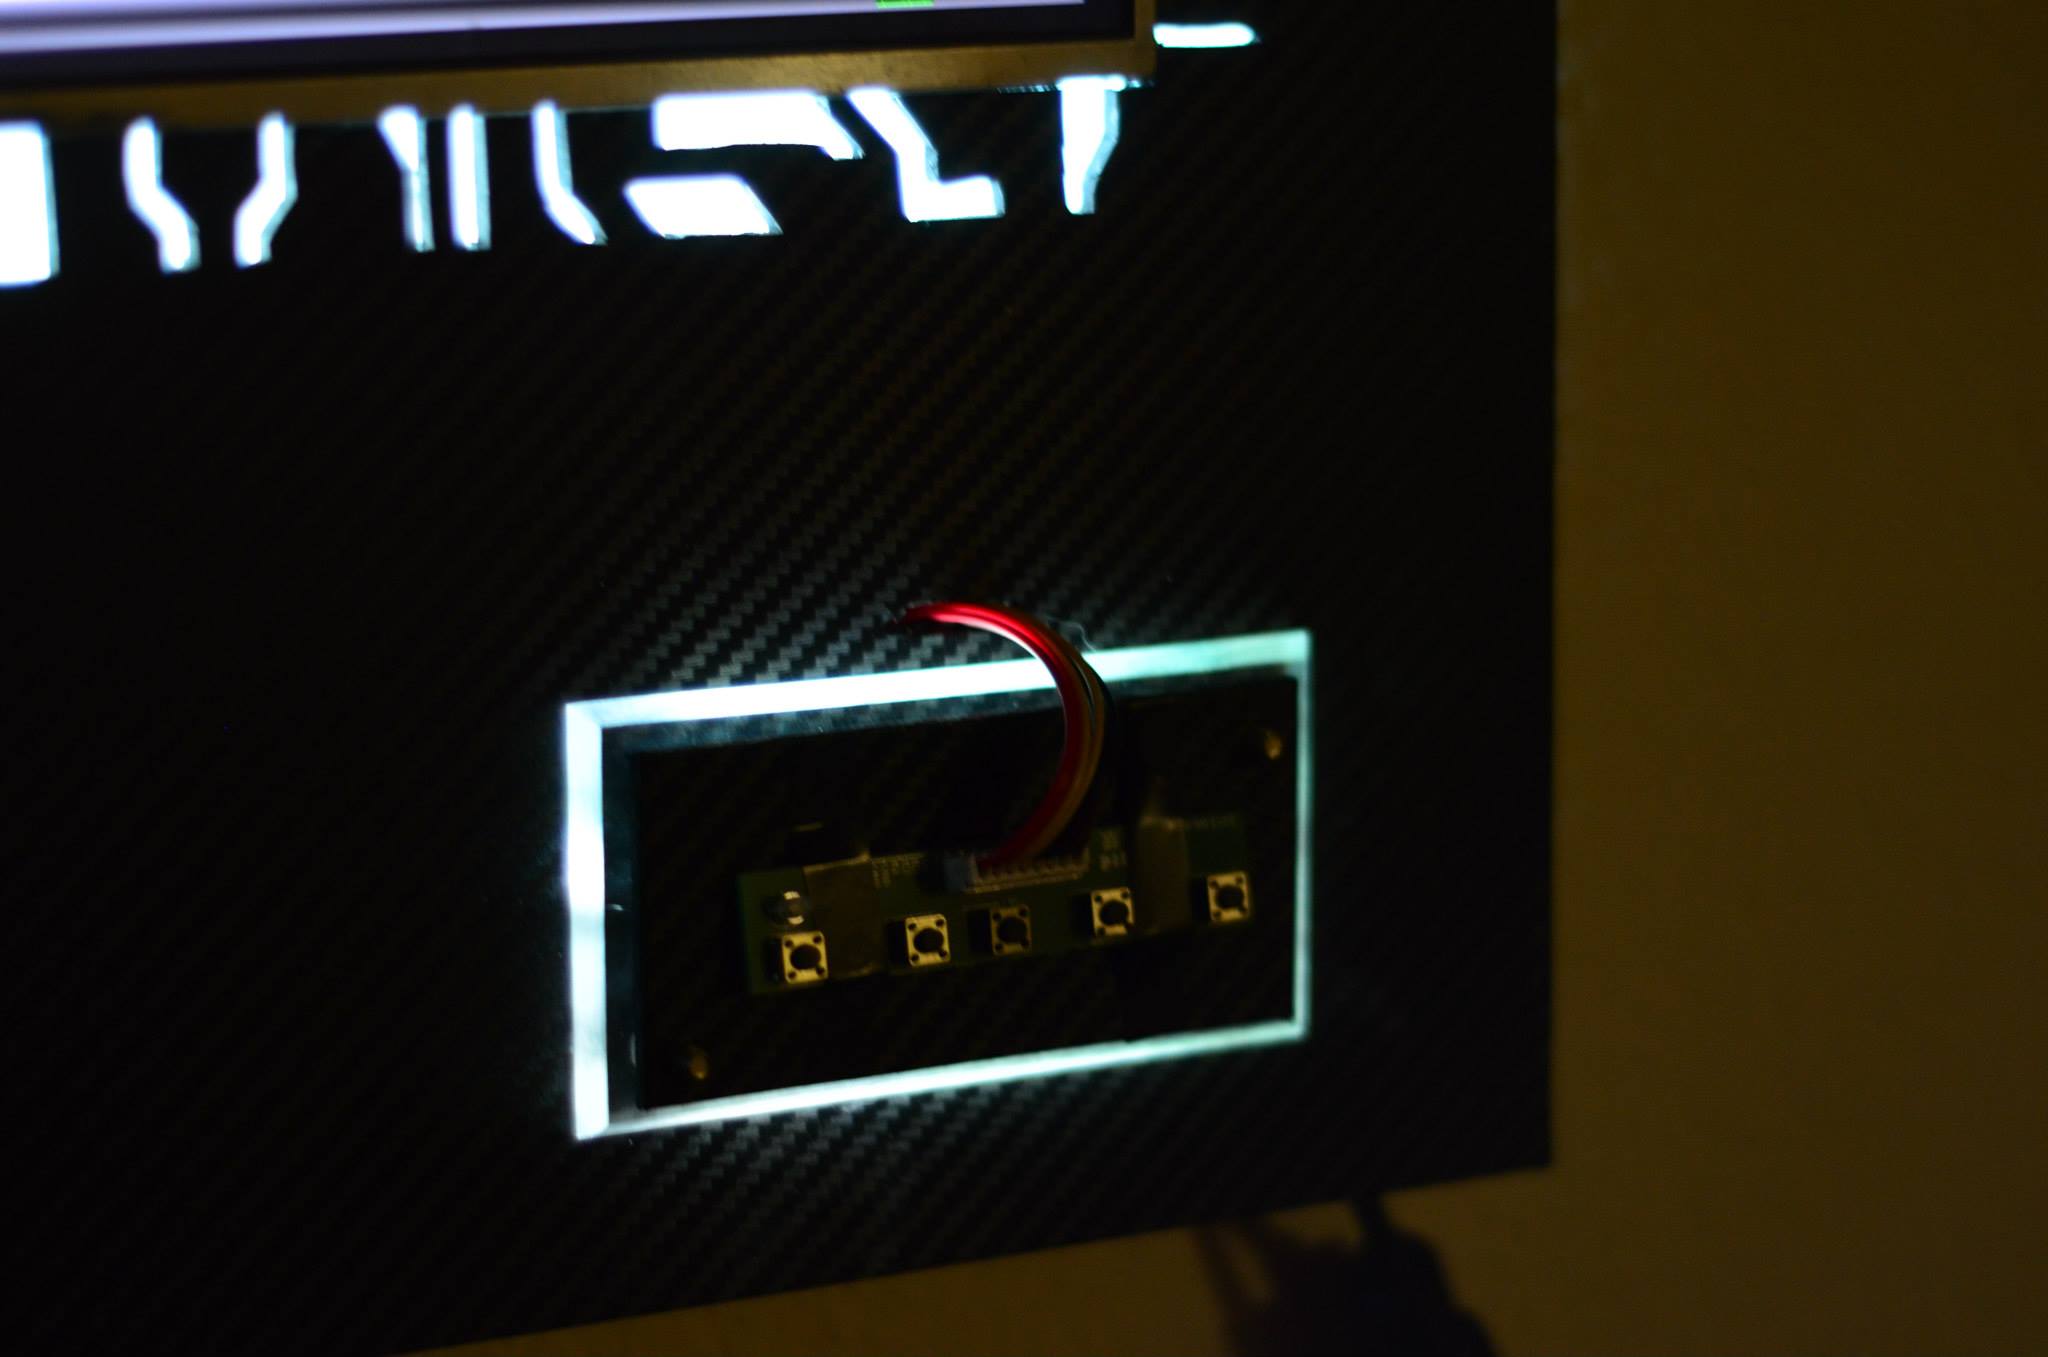
It turns out that you can buy regulators straight from China on ebay for a pretty decent price. You send them the make of your LCD screen, and they send you a board and voltage regulator with HDMI and DVI out, as well as the standard options you’d expect on a screen. Mine came with an attractive set of buttons soldered onto a simple board to drive the whole thing.
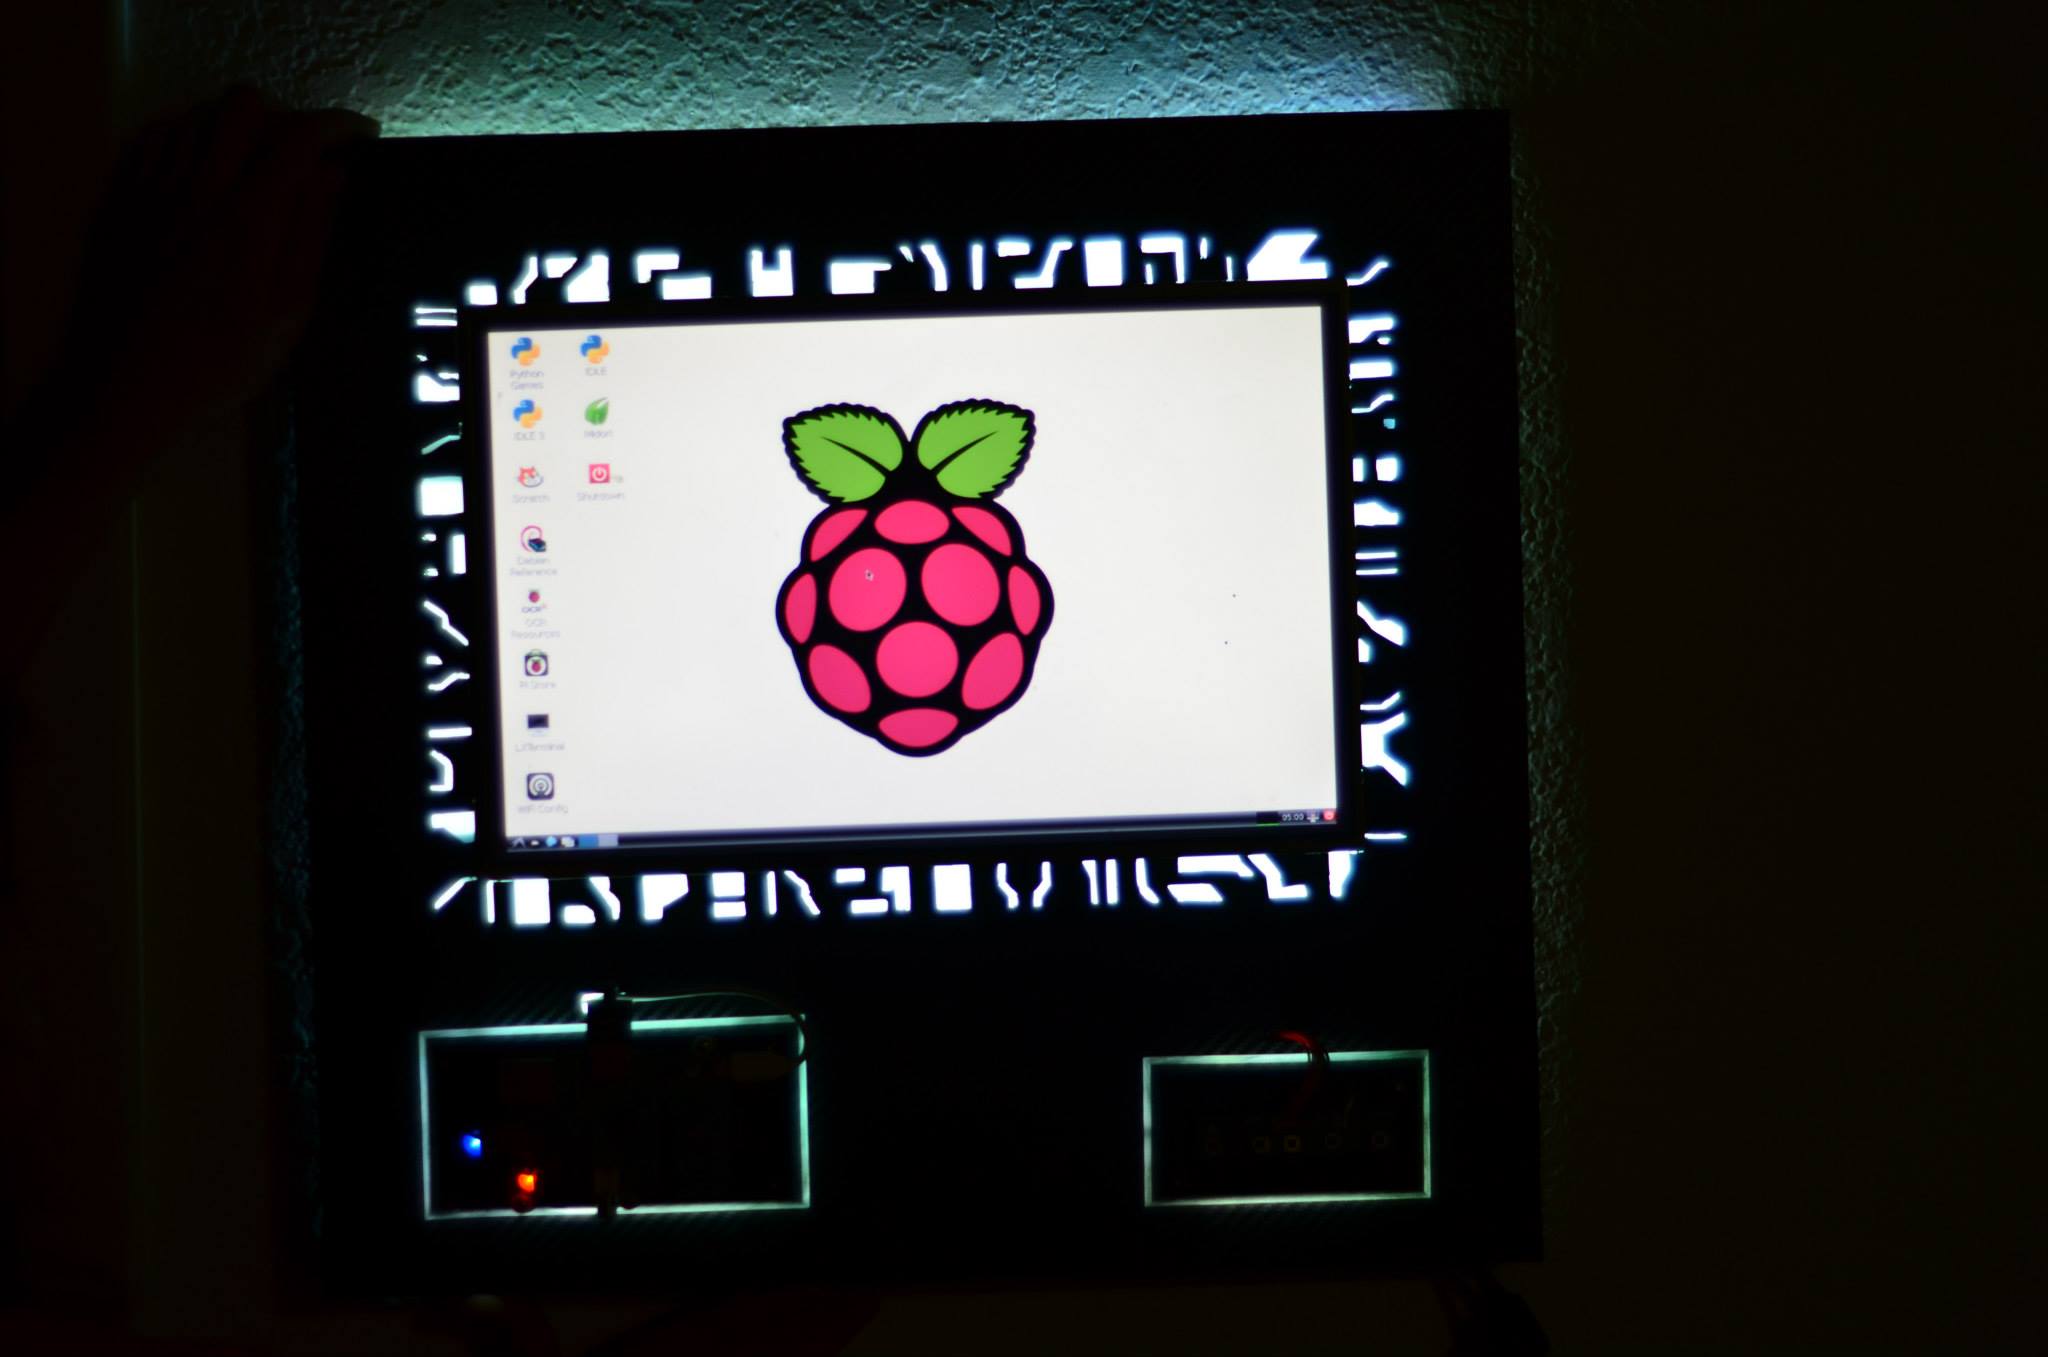
For the computer, I decided to use a Raspberry Pi from a previous project. It’s currently the brains behind my home automation setup, but I figured the little guy was powerful enough to run a media panel at the same time.
To power the whole thing, I got a voltage splitter and split voltage between the Pi and the LCD screen, to reduce the wires coming off of the panel.
I sketched out the front of the panel, and drew some inspiration from Tron-style outfits. Once I was satisfied, I chose the one I liked best and transferred it to a piece of ¼” hardwood plywood. I also laid out the components on the back.
Although I could have had this laser cut, I decided to do all of the tracings by hand on a scroll saw. Since I’ve never mastered the 90 degree scroll saw turn, I then drilled billions of holes (or at least that’s how it felt). My scroll saw also didn’t have a large enough throat, so I had to flip the blade and pull into it instead of push - I ended up breaking 8-10 blades over the course of all of the tracings.
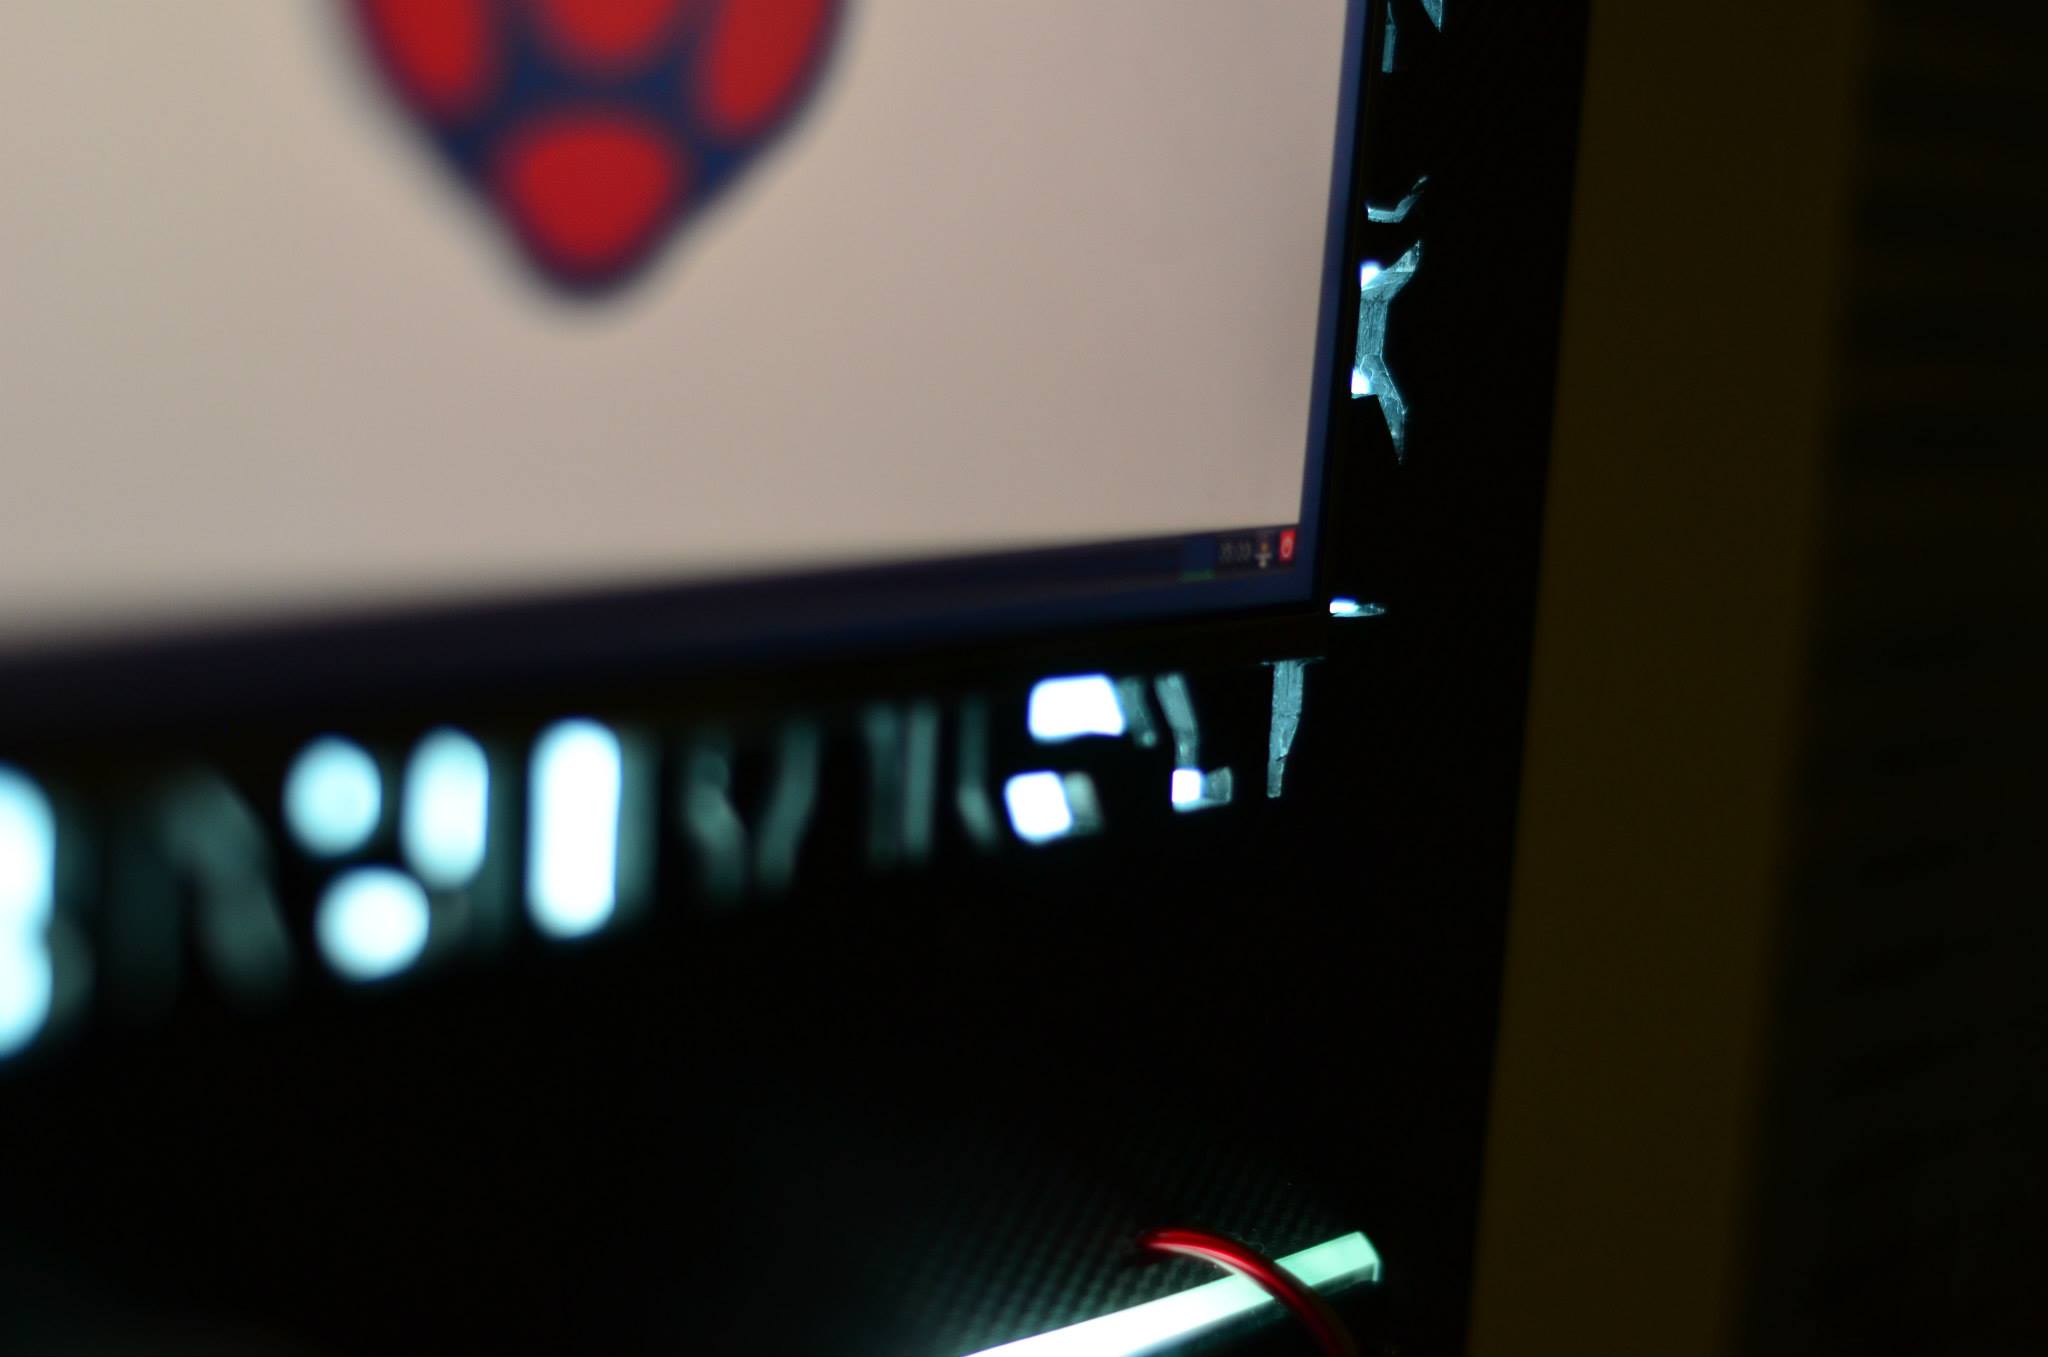
The plexiglass plate design on the front was inspired by a computer mod I’d seen. I thought it was a really great effect, and was simple to recreate. I got a couple of scraps of clear plexiglass from the local plastics store and gave them some 30 degree chamfers with the table saw. I finished off the chamfers with a round of sanding with progressively finer grits to give it a nice clean look.
Since I wanted the LED strips to create an effect where the edges of the plexiglass shine, I needed to ensure that the light bounced towards the edges instead of just going straight through. I tried a lot of different techniques to cut a satisfactory triangular groove in the plexiglass pieces (and went through quite a bit of plastic). I eventually ended up using a triangular bit, a dremel, many shallow passes, and a lot of cusses. The end result is really nice though!